Thursday

Evaluation of trailer.

The final production is complete and I am fairly happy with the results, there are things that I would do differently and I know ways that I would improve but for my ability I am pleased with what I created.

The intro to the trailer I was pleased with because I was just practicing using the cameras and the result was pleasing so I decided to keep it and thought it would make a nice intro.

Secondly I constructed the gun which I really liked because the components are all separate and when they come together it has a nice effect. Although it was difficult to get it to work smoothly I eventually got there but the shadows still appeared, I tried to correct this by adding some lighting from different positions but it would either make the gun too bright or change where the shadows were.

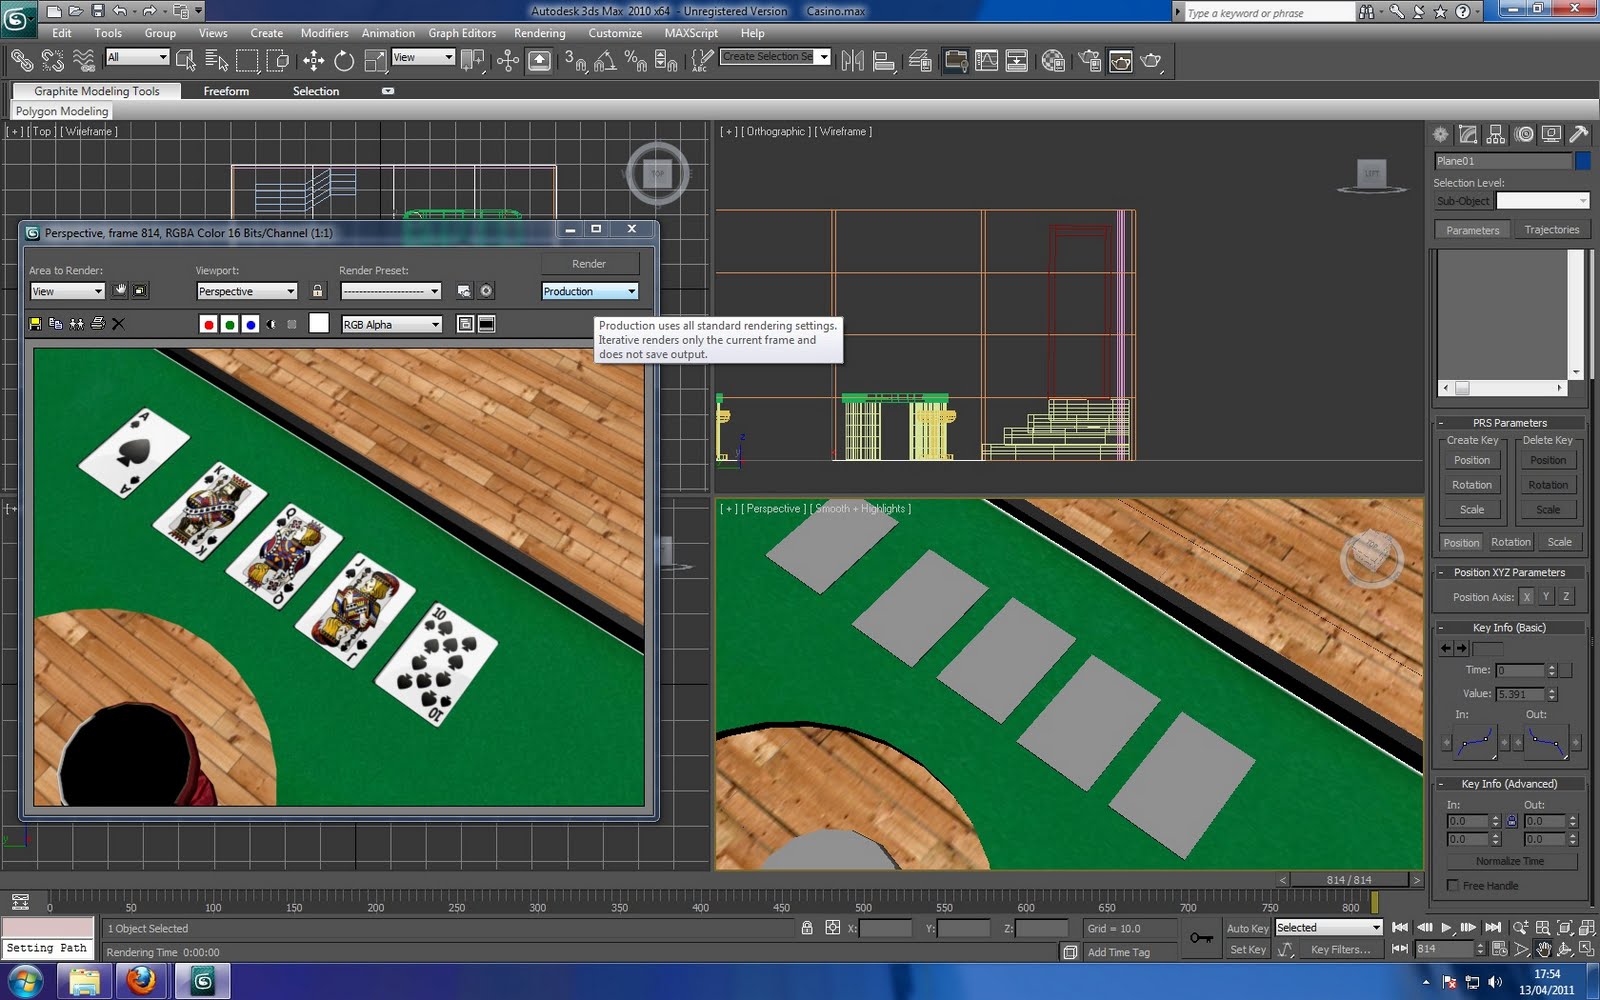
Thirdly I made the scene in the casino, this was insightful into how the cameras and paths worked. It was also difficult setting up the lighting because different areas reacted differently to different lighting.

If I had more time I would have taken the niggles out of the animation such as some out of place shadows and some models which were not as complete as I would have liked them to be.

Scene 4 007 Playing card

This is the final scene where the camera will zoom into a playing card that says 007, this will be a nice way to end the animation. I am using the camera technique to do this scene, the difference is the camera will be traveling vertically instead of horizontally, in the animation this fit in nicely because the playing card is iconic in a casino and the pattern on the back of the card fits nicely with the theme.

Scene 2 Construction of Golden Gun

Scene 2 is the construction of the golden gun. I thought to do the construction of the gun because the golden gun is made up of different components such as the pen and the cigarette case so I thought it would fit nicely. To do the construction of the gun I had to use the set key to allow me to slide the parts of the gun together. A problem occurred when I was trying to piece the gun together because each piece is individual I had to edit each piece on the timeline individually. I eventually got the timeline configured so the gun all fit together correctly.

Scene 1 Intro

This scene wasn't initially planned to go into the animation but I was playing with the Casino Royale logo on a plane and using a camera to pass it by, it gave it quite a nice effect so decided to use it.

The video shows the intro that I am going to use in the final trailer, I will speed it up so it doesn't take so long to show.

To create this scene I used a plane and attached the logo material to it. I then added a line path to which I attached a target camera and focussed it on to the logo. This gave an unexpectedly nice intro that I am going to use.

Cameras for scene 3


Scene 3 consists of a camera panning around the casino to show the room which will end up showing the cards on the poker table. To do this I had to use the path constraint technique which allows you to make a path to which you can attach objects or cameras. In my case I was going to make a path that led around the casino room that would have a camera attached to show the room. To achieve this effect I used the line tool to draw the path that the camera would take. Above you can see in the room there is a line that circles around the centre of the room, this is the path which the camera will take, to show the bar and the poker tables. In the top left viewport you can see an arial view of the path that the camera will take, you can also see the camera starts just above the stairs but faces the bar. The camera I chose to use was a Target Camera because it allows you to focus where you want by directing the view with the square at the end of the camera, this is particularly useful for concentrating on one subject and then further in the timeline you can change the focus and move it to a new subject. To attach the camera to the path I had to use a 'path constraint', which can be found by going to animation>constraint>path constraint. When you click path constraint it gives you a dotted line to attach to a line or what will be the path, so I attached the camera to the line that I had setup and then looked at the viewport that shows the camera view. I then adjusted where I wanted the camera to focus and moved the timeline to make sure it was how I wanted it to look. I found that lighting was sometimes an issue, so I had to add some omni lights in to dark areas or for especially dark areas add in a target spot light which gives intense light to a focussed area.


Walls and Stairs

This shows the stairs that lead into the casino as well as the walls and the door. The stairs fit exactly how I wanted them to, I imported and chose to put them in the corner as planned. This give a different approach to the entrance and add to the look of the room. Along with the stairs that add interest I have added walls with a wallpaper look, this pattern is an image that I saved from google, and played with in the material editor so that it was tiled and looked symmetric. This pattern I chose fits the room very nicely as it is a fancy and dark swirly patter as you would expect to see in a casino. I simply applied the material to the four planes that surround the room.

I added a texture to the floor which is very pleasing, it looks realistic and fits in with the bar and the walls. I also had to tile the floor in the material editor because the wood pattern looked too large before I tiled it. Together with all these elements I have made a casino room which I am fairly please with, I think there is some missing detail which could be added. But for now I am happy with the room to start using the camera techniques to glide around the room, which is going to be the first animation that I try.

Bar


Here is the bar that sits in the corner of the casino, this is where the camera is going to pass in the animation, it has the martini bottles and cocktail glasses on as well as the golden gun. I decided to change the textures on the martini bottles because the decals that I applied didn't fit with the other design in the room. I also applied a bamboo texture to the bar which adds to the effect of the bar area. The texture on the glasses was made by changing the diffuse colour to white, setting a high specular and glossiness level and adding a falloff to the texture. This creates a nice glass look but could be improved as it is a bit too transparent.

Creating Poker Table and Stool

Here is the poker table and stool that feature in my casino. These are the main make up of my casino and will feature in the animation.

The stool was created using a technique that I had previously used, Lathe, this technique is really quick for creating objects that are based round a pivot. I also added a black matte material to the stool to try and get a leather effect but I do not know how affective it will be once in the casino but it should give it some texture.

The poker table was my favourite object to make because it came together and started to look good when I added the textures to the legs and added the felt material to the surface. The legs were simple to create, I just made cylinders and cloned them; then added a wooden texture to give make them look realistic. The table top was created by using the square tool and I line it up with the legs to get the correct size. To round the edges I used the modification tool 'chamfer' this allowed me to play with the roundness on the edges of the square. I had to select the corner face to do this and the effect was very pleasing. To get depth with the poker table I cloned the table top and resized it with the resize tool, I shrunk it till there was a nice sized boarder that I could cut out with the boolean technique. So I went on to cut the inside from the table top to create the raised edges. I also used the boolean to cut the circle indent by the stool, I just used a standard sphere to cut the circle from the table. I applied a felt texture to the table top but came across a problem, it was applying the texture to the whole table top rather than just the very table surface. So I applied the standard glossy black to the raised part of the table and it covered the table so I had to make the top an editable poly meaning I could manually select the faces of the shape at the top of the table to apply the material to which finally worked. So now I have my poker table and stool as well as the stairs into my casino. Next will be making the structure of the room with the walls and the floor.

Cards on the table.


The next step of building my casino environment was adding cards to the table. I created cards as one of my three models and I imported them into the scene. I laid the cards out and they added to the look of the poker table which will be featured in my animation. I grouped the cards together so that they were easier to manage when I am animating in the casino.

Tutorial 7 - Propeller


This is the propeller that we created in week 7, we learnt about using the set key and the auto key with manipulating the propeller and also what adjustments can be made to the propeller to give it a more realistic look. So first of all the set key was explained, this allows you to manipulate objects on the screen by setting the first frame with the object in one state and the last frame with the object set differently, 3ds max will then tween the objects that have been moved between the frames. As you can see in the video this has been used, the first frame was setup so the propeller had not been spun but on the state changes throughout ending with the propeller having spun many times. This is good for people animating helicopters or fan propelled objects. The auto key does a similar job the the set key but does the key setting for you, for example if I moved the timeline up 20 frames and then manipulated the object it would automatically tween the object rather than me selecting to add a frame in.

To create the propeller I had to first make the four rectangles which were going to spin and attach these to a centre spinning piece, the circle. Once these four objects were attached I then pressed set key and added the first frame in, then dragged the timeline to the 100th frame and span the propeller many times. You will see in the video that a motion blur has been applied this gives it a more realistic presence, I added the motion blur by right clicking on the object, object properties, motion blur. You can the adjust the properties to have different effects. Also you will see in the video the propeller changes colour, this was done with the auto key and dragging the timeline on four frames I changed the colour.

Wednesday

Update

This is an update to just explain the process that I am at.


This is going to be the stair case which is the entrance into the casino, I am yet to post the plans for my animation but it is going to be set in a casino. As you can tell from the image it looks like a staircase and I am using Boolean to make sure it fits tight with the wall. The first thing I had to figure out was completing the Boolean on more than one object, I tried to make the staircase from one primitive shape but extruding the segments out was not working correctly so I had to use individual shapes and use proboolean to merge the objects so they became one. This was done by selecting merge on the parameters and selecting the objects that I needed. Once all the cylinders were attached I could then use the boolean to square off the sides of the staircase to fit against the wall in my casino. The casino so far consists of 3 poker tables the stair case and the walls with wallpaper as you can see below. The next step is explaining how I created my further objects and how I am going to animate.

Introduction to animation


This is my first attempt at animating objects in 3Ds Max, I am going to be using the Auto key technique for this animation. Auto Key animation allows the user the simplicity of changing the shapes and the time on the time line with the computer adding the key frames in. First I started by making a cylinder in the front viewport, then I bent the object to one side and dragged the frame slider to a new frame. This added a key frame into the animation and this acts as a key to what the object will look like by that frame, I then rotated the object and added a new key frame in later in the time line.

Above is the rendered copy of the animation.

To render the animation out to view in a video file you have to change some of the render settings. You have to change the 'time output' to 'active time segment' or 'range', if you select range you have to specify which frames you want to render. Once you have that selected you can select what size you want the video frame size to be. Then finally you have to select a file destination for the video to be saved to.

Friday

StoryBoard

Today I handed my 3 Models in and I am going to develop the ideas that I have had for the animation by making a storyboard. This storyboard will include the models that I have created and maybe some more that I intend to make for the final animation. The main point I am going to portray in the storyboard is a bullet being shot and smashing the Martini bottle, the scene will be placed on a poker table which will be another model I will create. The difficulty with this animation will be getting the bottle smash to look realistic, in the storyboard I will try to show the scene as it will play out.

Thursday

Completed Golden Gun

This is the golden gun finished with the texture, I looked on-line for a gold texture and found a handy tutorial which explains step by step on how to achieve the gold look. I am really please with how the gun has turned out and it has made me think that I should change the material on the Martini bottle and have the texture as glass and figure out how to add the decals over the glass. Overall I am happy that I have three models and I look forward to animating them and improving them, I am currently thinking of ways that I can improve on what I already have.

Golden gun without texture

This is the basic shape of the golden gun, I started by placing a reference plate with a picture of the gun so I could scale the components accordingly. I started off with the cigarette case which makes the hand part of the gun, I had to indent the top and round the edges to get the right shape. To round the edges I made a cylinder and aligned it with the shape, I then used the vertex's to manipulate the shape so it aligned with the cylinder. I then added the top of the cigarette case which is placed under the the barrel and connects to the trigger, for this I cloned the case and just cut the size of the main rectangle. I added the trigger by creating a cylinder and extruding a pin out which is what connects with the cigarette case and causes the gun to fire. The next stage was the lighter which sits on top of the cigarette case, this was simply a rectangle, with a different compartment coming out to make the attachment for the barrel. The last part to construct was the barrel, I simply used the cylinder tool to make the main part and extruded at the end to enhance the look. It was hard to get the detail into the model such as the detailed texture on the lighter, but hopefully this can be added during the texturing process.

Golden gun


Here is a picture of the golden gun, as you can see there is a pen, also there is a lighter, these objects will have to be incorporated into the design when I come to modelling the gun.

Golden Gun

The third and final model I am going to create is the golden gun. This was inspired because I like the gadget side of 007 and also the action side with guns and fighting, so this combined two elements of James Bond which I really enjoy. Also I am planning to have my final animation based around a poker table and the gun could rest on the table with the other models.

The golden gun is made up from different components that can easily be found, it is an ingenious idea using a lighter, pen, cigarette case and cuff links and the fact that its 24 carat gold tops it off. I think the challenge with the golden gun will be to get across which parts are which.

Wednesday

Card texture faces


An error occurred when I tried to submit this post. This is the texture faces document that you can save from 3Ds Max which you can use in Photoshop to apply textures. By filling in the faces with what textures you want it is a very simple and flexible way to add texture to the model. These are the texture plates for the playing cards. As you can see the front and the back of the playing cards are easy to edit and you can fill it in with what you want on Photoshop. It was more tricky with the bottle because it was rounded which complicated the process a lot more. Using the texture faces document that you can save from 3Ds max I feel that you can add decals very easily, and it is very effective for square of non rounded objects.

Playing Card

This is the first card that I created I used the square tool to create the shape of the card and used the 'unwrap uvw' to apply the texture, the picture I chose for the back of the cards reminded me of the intro to Casino royale which I quite like. Because I used the same texturing technique to apply to the Martini this card was quick to make. I am now becoming more familiar with the tools which is helping with the construction of the models. When I come to make my animation I want more than the three standard models because I would like to make a poker table for them to sit on and adjust a few things to make the models look right.


Update.

I have a picture to show the Royal flush, I added the floor surface in to help the cards stand out from the plain background.

Rendered Martini Bottle

Here is the rendered copy of my Martini bottle. Although I am happy to have my first model complete I do not feel satisfied with the final result, I spent a lot of time editing the textures and getting them to look correct that I feel it would be a small step backwards to get a large step ahead by adding the glass effect.

In this image you can see to the right there is a box which you can click to edit the parameters, when you click the box you get the object faces outline on a grid, this is where you can get the outlined mapping shape for the object to edit in Photoshop.

With the Martini bottle now complete I am going to move on to my next model which is going to be a royal flush poker hand. I am inspired to do the cards as I really like the intro from Casino Royale and for my animation I may create a poker table to put the Martini bottle and the playing cards on.

Martini Bottle skins

I managed to find a way of applying the texture to the whole bottle, it was by using a technique called 'unwrap UVW' , what this does is take the object and makes the faces available to edit, a window below the shape tabs appears and comes up with editable options. When you click the edit key a new window appears and you can see see the faces on a grid with more options, you can flatten the image and make the outlines solid, this give you a nice platform to take into Photoshop and create the texture.

As you can see in the image I have imported the unwrapped bottle parts and have painted them in Photoshop, this gave me many options with colour and which decals I would put on. The problem doing it this way is that it won't let me just put the decals on with transparent bottle, as the grid pattern will just be applied to the bottle. I will have to find a way in which this does not happen so I can get the desired glass effect for the bottle with only the decals added.

This is my first attempt at applying a texture to the bottle but it wasn't very successful, I used the material window to drag the Martini decal onto the bottle but it wouldn't align correctly. I now have to find a way to get the material to sit correctly onto the bottle.

Martini bottle

This is the first model I decided to create, it is to be a Martini bottle, the main shape is done but there is more to do with the texture of the bottle. I created the shape of the bottle by getting a picture of a Martini bottle and placing it on a 'plane' to make a reference plate. I then drew the line round the shape and used the lathe technique to complete the shape, this was the best technique to use for the bottle because it is round and symmetrical. I now have to find a way to add the texture to the bottle to finish it off.

Tank using reference plates

This is the tank that I created in the tutorial, the first thing we done before we started putting any shapes in the frame was to make our reference plates. Reference plates are images with a simple line drawing of what you want to create, as you can see in the image I have some for the side aspect and the top aspect of the tank. These are very useful if you can get hold of them because it makes modelling to proportion a lot easier. So to bring the reference plates in you first have to make a 'plane' the size of the image so it fits correctly in size, once the plane is the right size you make a material by pressing 'm' to bring the material window up, you can then import the bitmap by navigating the material window by going to 'diffuse' and select bitmap. Once you have the image on the plane you can change the angle which may be necessary if the image is not fitting properly, the options to change how the material lays are in the material window.

With the reference plates in place you can start adding the objects into the frame, I started by adding the wheels and building up the body of the tank with different squares and rectangles. I found out that by adding more shapes it was vastly increasing the file size, so I then created rectangle the size of the base and extruded the shape to fit with the reference plates, it is quite tricky getting used to extruding a shape because it never seems to go the way you want it to. I find that I see how I want it in my head but actually putting it into practice seems to be quite tricky, this will develop I am sure over time as I get use to extruding shapes.

Loft technique

Here is the Loft technique, this can be used to create a shape using a simple line and then have it filled by using this technique, as you can see I have created a coat hanger using this technique. To create a model to use the lofting technique you have to first draw your shape using the line tool. So once you have create the basic line of the shape you have to add the shape that you want the line to be filled with, so it can be a rectangle or a circle or any of the shapes. So once you have a shape on the viewpoint which isn't very big because it will only be making the outline, you can click on 'create' then 'compound' then 'loft'. This will bring a menu to the side of the screen under the shape tabs, then you have to select the circle and click the 'get shape' which will fill the line with the shape that was selected. This could be useful for making a bent handle or something curved which can be added to another object.

Lathe Technique

This print screen shows a fruit bowl using the lathe technique, lathing is a technique which allows you to draw a line and pivot it on a point to complete the shape. To get the line tool you have to go to shapes and it is under splines. Using the line tool is simple and gives you flexibility on the shapes you can create, it allows you to bend the line if you hold down and move the mouse when you have added a point to the line. This is useful for the bowl because you want the bowl to be round and look smooth. Once the line is created you have to add a pivot point which is where the line is going to pivot on, to add the pivot point you go to the 'hierarchy' tab and then 'affect pivot only' then a point with the move arrows will appear. Once you have the pivot in the right place you can click on the 'modification' tab and click 'lathe' on the drop down list. This technique is useful for creating symmetrical as the model is pivoting and is the same all 360 degrees round.

Tuesday


Here is my mood board, this includes things that I relate to 007. James bond has a certain suave that connects with women, he is never seen in a run of the mill car and can never live one day in peace. The films are packed with action from beginning to end, but in my animation I want to portray 007's style, the certain drink, the certain way he does things and operates. There is also the option to do the obvious models such as gadgets and guns or cars. I am left with many options so it is just making a decision. I quite like the idea of having some possessions of James Bond laid at a poker table. These would be trade mark like a watch or Martini or playing cards. The Casino Royale intro has many relations to playing cards which is quite a good starting point.

Wednesday

2 Apples 3D

Here are two apples that helped me understand the concept of extruding a shape to give it a life like texture. First of all I created a sphere which was going to be the basis of the apple. The first modification to do was to give the apple a dip in the top, this was achieved by extruding the sphere. When you extrude a shape you are manipulating and changing the surface and shape of the object. I extruded the top of the apple inwards to get the top to dip in. To extrude a shape you have to convert it to a 'poly' then this will enable you to see the faces and make them selectable. Once you have converted it to a poly you can then click on a face of the object and pull or push using the standard move tools. Without 'soft selection' activated it gives a very harsh adjustment to the shape so to get a soft looking adjustment you can select 'soft selection' which moves the chosen face and slightly moves the others that surround it to give a softer modification. I also extruded around the edges of the apple because an apple isn't exactly round, the last thing to do was to add stork of the apple which I just used a prism and put it at an angle. To create the second apple I cloned the first one and changes the extrusion along with changing the colour. The next thing we are about to make is a fruit bowl using the lathe technique.

3D Snowman

I have now made a snowman with snow falling in the background as seen in the bottom left viewpoint. The snowman was made up of two spheres placed on one another, this gave the snowman a body. Then using the cylinder tool I made a flat cylinder to use with a longer cylinder to make the top hat. The eyes and nose were added using the other shapes which come under 'primitive shapes'. Snow was added to the scene to add depth to the model, I was able to add the snow by selecting the 'particle system' in the drop down menu, once this menu appears there are options and snow is one of them. To apply the snow it is similar to making a shape, you drag a line where you want the snow to fall from.

3D Castle

Here is the model of the 3D castle from the first tutorial. This used the basic tools for creating primitive shapes, when drawing a basic shape you have to understand which viewpoint you are drawing from. If you want to add a cylinder to the back of the image it may be easier to rotate the view or to click to a different view point and draw the shape from that aspect. The door was added by using the drop down list on the side shape panel, it was applied in the same way as a the shapes. When I completed the castle I wanted to view the finished article, you can press the render button and it will open the rendered version in a new window. This was the first creation that I had attempted on 3Ds max, although it is very basic, it gave me the basic principles of how the shape tools work and navigation of the software. It also helped me get to grips with the view points, the viewpoints can be very confusing but I am sure with more practise it will be easier to understand.